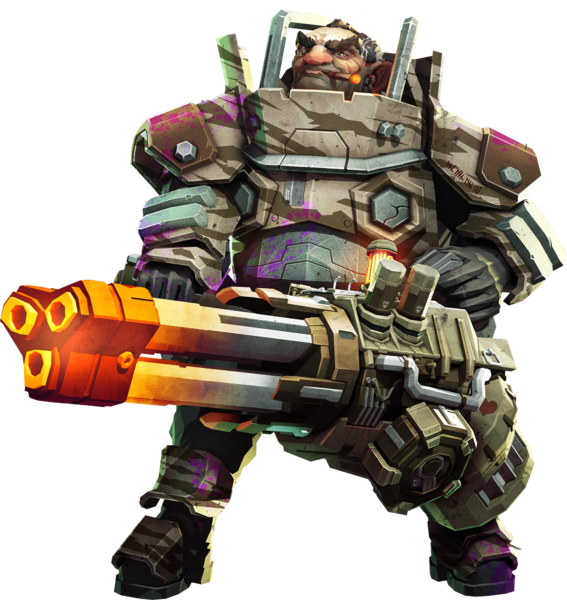
Minigun
Leadstorm is my personal fav gunner primary. This build is made for great crowd clear and swarm damage, and is designed to be used up close.
T1B - More bullets means more blowthrough and more heat, T1C is good but this build is meant to be used close range to take advantage of Burning Hell and blowthrough. (Mainly Burning Hell)
T2B - Both options are good, I generally don't run out of ammo with this build, so the extra damage is nice (and makes the ammo we do have go further).
T3C - All the options are good in this tier but for the playstyle here I go with blowthrough. It makes hot bullets later on do more heat total, and helps with crowds, which is the goal.
T4B - Faster spinup time helps with kiting bugs and allows you to get in and out quickly. T4A is an OK option, but it can be dangerous to stay still too long in close range.
T5C - Hot bullets just helps along with Burning Hell to set stuff on fire quickly. T5A is also viable if you overheat a lot, but I find it pretty easy to keep the heat under control.
OC - Burning Hell - I main Driller so this is my way of using the CRSPR without using the CRSPR. Fire is the most powerful status effect in the game, and this is a very fun overclock to use. Remember that you need to get in close though, as the fire only has a range of 5 metres. The increased heat generation is useful too for getting hot bullets online.
Revolver
I won't go into as much depth for the rest of the build because the minigun is the star of the show. The revolver is generally built as a self defence weapon for decent single target damage betweeen swarms without the commitment of spinning up the Lead Storm. I would still use the minigun for a praetorian or anyhting bigger (and swarms obviously), but I have found that the revolver is great for Mactera, individual Grunts, Spitters, and other similar bugs. It has enough damage to one shot any of the bugs (if you hit weak points) and is generally consistent and accurate. It also does good damage to Spetic Spreaders, allowing you to 2-shot them with a weak point shot.
T1B - Much better accuracy, good for sniping (helpful against spitters).
T2A - More damage, more fun.
T3A - Can help with crowds if the minigun does end up overheating. T3C is also good if you are confident you won't overheat.
T4B - More damage, more fun.
T5A - Just helps to hit more shots while dodging.
OC - Six Shooter - Makes it faster to take out bugs. A swarm of mactera can really ruin your day, but this lets you take them all out without breaking a sweat. Plus obviously the extra ammo is nice, and you can use the fire rate if the minigun goes down or just to pump lead into a praetorian's weakpoint. This overclock isn't really foundational to the build, but it's nice to have.
Extras
Equipment obviously comes down to personal preference. I personally run BAB on the zipline, BBC on the shield (Hol' up), AAAA on the armour (That's what bugs will be thinking when they see you), and AC on the pickaxe cause I like to use power attacks a lot.
Grenades are also down to preference. I like the sticky grenade to make prateorians turn around and just for some regular explosions. Good for swarms, clusters etc.
For perks - Dash is a must have on any build because it's insanely fun (If you combo it with jet boots you can launch yourself at mach 5 across a cave). Iron will is useful for clutches (combos nicely with vampire too). Field Medic is also nice to have and complements Gunner's support role well. On the other hand though... Steeve.
Born Ready is nice to have so that you can rely on the Bulldog, but with 6 shooter it reloads pretty quickly anyway. Resupplier is nice to keep you stocked up and is very good at higher hazards. Vampire is nice to get up with iron will or even just for a little top up for health off the occasional grunt. Thorns is mainly useful for lil guys like Naedocytes and Swarmers, but if you learn how, Burning Hell can deal with them easily (esp with T4B).
OK that's the guide over. It's a lot of stuff but this a very fun all-round, general purpose build that I run in all mission types other than Elimination and Sabotage (Build for those is in the works) If you have any thoughs please comment I would love to hear. Rock and Stone!!!