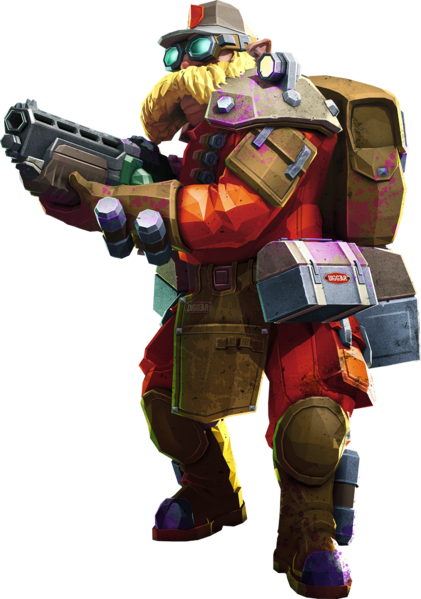
So, you love Fat Boy for its huge range and swarm clearing capabilities but you hate how misfires can easily turn that uplink and your teammates into a irridated and irritated wasteland. Well, why not try out Feedback Loop?
Warthog:
With the sheer swarm clearing capabilities of our Shardy, but the low ammo and weakness against dealing with tankier targets, we're going to need a generalist primary that does well against both small groups of grunts and praetorians alike. The Warthog fills this niche perfectly, but an EM Refire Booster Stubby can also be great. As usual with my Warthog builds, T5's up to personal preference.
Shard Diffractor:
This is the fun part. Done all your chores like a good Engineer? Are your sentry/sentries restocked, minerals platformed, uplink holes plugged, and scouts that grappled onto a staglamite and are now spamming "X" ignored? Alright, it's time to enjoy yourself. See that huge swarm over there? That one on the ceiling of the cave that Breach Cutter couldn't possibly hope to reach? Grab the Shardy and hit M1. Hold it down for as long as possible. The shiny impact around the beam will grow larger and larger, as will the number of glyphid corpses raining down. Now, I've made this sound like a brainhead "hold M1 and point" weapon, but there is a sort of nuance to it. Nothing's worse than firing your beam only to realize that there's no more glyphids incoming, and you still have 70 charges left in the chamber. Be smart, confirm that you're pointing the thing at a massive swarm before firing. You've only got 4 full bursts - don't let them go to waste. God dammit scout, I TOLD you to put up those flares!
Beating the shindig out of huge hordes at any range is all well and good on paper, but what about the ten grunts literally stepping on your toes and asking about your Drilldozer's extended warranty? Well, for immediate close-range swarm clear, I would suggest the Plasma Pack. Good burst clear, reliable, and you get six of them. What's not to love? Alternatively, you could use LUREs to lure glyphids directly into your death ray, but that's no fun. I want my enemies to look at me in the eyes as they get turned into ash.
Anyway, even though this is usually strictly a large horde clear weapon like Fat Boy, there is a certain large single enemy that you might want to fire your precious bursts against. Xyranch Charge-Suckers too difficult for your teammates to hit? Switch to your Shardy and quite literally melt them.
this also does amazing against the OMEN tower assuming that the cooling packs are exposed. actually, now that I think about it, this works well against any large enemy with multiple spots you have to hit.