Description
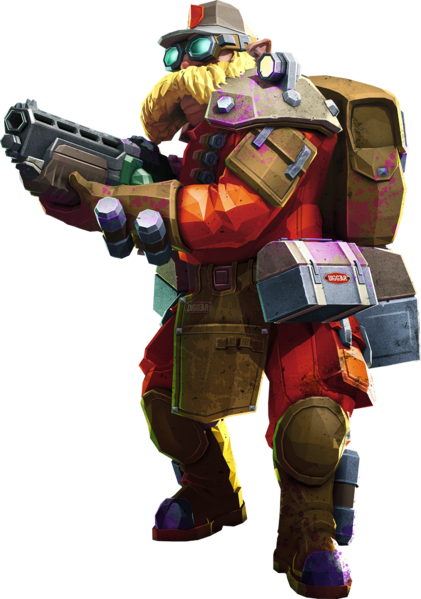
This engineer has been huffing too many vapors in the weapon lab while experimenting with new rounds. He's gone a bit insane, but it isn't his fault. Management won't pay for proper safety equipment, and ventilation.
This is a balanced build with tactical options for swarm clear, CC and anti-heavy-armor tactics through the use of electricity, fire, explosions, and electro-chemical rounds.
There is a double synergy here for combo attacks :
LOK-1 applies electric to enemies
Shard Diffractor gets bonus to electrified enemies
... and ...
Shard Diffractor will ignite enemies if they cross spawned magma
LOK-1 gets bonus damage to ignited enemies
Further, there are stacking damage bonuses with our Shard Diffractor, which are the +33% bonus to weakpoints and the +33% bonus to electrified enemies. Use the LOK-1 to trigger electric status effects on praetorians, or other heavies before hitting them with your beam.
Finally, our LOK-1 will cause explosions with 3-lock bursts, and the bullets themselves do bonus damage to electrified or ignited enemies which mainly helps boost ammo efficiency a bit more when firing bursts that don't cause explosions (which will definitely happen sometimes to even the best of us).
Testing
Tested in DDs/EDDs as well as Haz 4/5 - all mission types. This build is balanced well for any mission type or biome. You'll have some tactical option for any situation with either your primary or secondary, or both in a combo attack.
LOK-1 Tactics Notes
Use the LOK-1 Explosive Chemical Rounds OC by locking onto an enemy with 3 locks. This will cause an explosion on the 3rd shot which has a fear effect and does AOE damage. The fear effect offers you some crowd control potential, but just a bit.
It's ok to trigger an explosion to wipe out a lone grunt, however, try to target groups to take full advantage of the AOE damage from the explosions. Try to lock onto a grunt traveling in the middle of a group so your explosion splashes the others.
Also note that the LOK-1 can be used to trigger electric status effects on praetorians, breeders, bulks, etc. with 3-locks. The main reason for wanting to do this is that your Shard Diffractor will get bonus damage to electrified enemies, so starting off a beam attack with a 3-lock burst from your LOK-1 is a great combo-attack setup for dealing with heavies.
Here's an example of how the combo attack works:
- Use the LOK-1 to trigger electrified with a 3-lock burst on a Praetorian (or other)
- Switch to your Shard Diffractor and fire at the electrified big boy
- Watch their armor melt, exposing their weakpoint for even MORE bonus damage
- The Praetorian (or other) is dead incredibly fast due to double +33% damage bonuses
Shard Diffractor Tactics Notes
The Shard Diffractor has been built in a balanced way, for either anti-heavy or swarm clear situations. You will want to use it differently in either scenario.
You can either aim the beam directly at a big boy to melt their armor off and then target their weakpoint for bonus damage. Or, you can aim the beam at terrain to spawn magma that ignites groups of grunts/swarmers that path across it.
The Volatile Impact Reactor OC enables us to fire our beam at terrain to spawn magma which is useful for dealing with large groups of grunts or swarmers that are approaching your defensive position. Magma will ignite anything that walks across it fairly quickly, even if you scatter the magma around wildly. Don't let the density/brightness of it fool you, you can leave some gaps in the magma'd area and it still ignites bugs.
When engaging heavies with the Shard Diffractor you want to use direct hits with the beam rather than trying to spawn magma on terrain. It's best to start your attack against a heavy with a 3-lock burst from your LOK-1 to apply electrified status. A direct hit with your beam afterwards will shred their armor off, expose the weakpoint, and make short work of them due to the damage bonuses (+33% to weakpoint, +33% to electrified).
Armor breaking in tier 4 mainly helps in dread missions, or when engaging praetorians, rollers or other hardened enemy (with the exception of oppressors). If you're going to a Rival Prescence mission then "High Intensity Heating" may be a better choice in tier 4 so you can ignite turrets and bots at range.