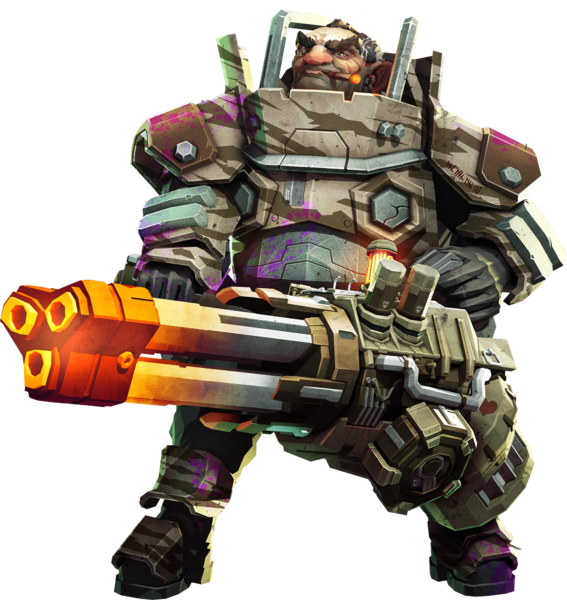
With this Coil Gun build here are multiple tactics you can use for dealing with big boys, crowd control, or swarm clear, making this build very balanced and adaptable. It's also ammo efficient.
We use the Triple-Tech Chamber OC + "Controlled Mag Flow" in tier 2 to make most of the magic happen. Triple Tech lets us fire 3 times per charge, as long as trigger pulls are within 1 second of one another.
"Controlled Mag Flow" lets you fire shots without charging to full charge. Damage is reduced if you're not charging to a full charge, but ammo use is also reduced.
The main advantage of undercharged shots is that they spawn full damage AOE trails for reduced ammo cost! With a 25% charged shot, and this Triple Tech OC, you can burst fire 3 full damage AOE trails for only 20 ammo.
We take "Stun" and "Electric Trails" for adding CC potential (slow/stun) as well as boosting DPS (with electric). However, both also lock enemies in your damage trails so they take more DOT. We don't need larger trails because we're producing 3 trails in cone or fan shapes anyway, covering more area.
We take "Shockwave" as well because we'll be firing 3-shot bursts, producing 3 shockwaves each time we fire. This helps vs. swarmers that may sneak up on you while you're firing at something else, or increases DPS in close range engagements if you're getting overrun.
Tactics:
1) Versus Big Boys (Praetorians, Dreads, Breeders, etc.)
Charge to 100%, fire three shots into the big boy center of mass. This does a good amount of direct damage and then the AOE trails add a bit more on top since the three trails cover a wider area than one does alone.
One 3-shot burst is usually enough to cut praetorian health in half or more because they get stuck in your AOE trails. Dreads or Oppressors are immune to stun and electric unfortunately, however the trail DOT can still be put to use if you're careful and kite appropriately.
2) Versus Swarms (Grunts, Slashers, Swarmers, Mactera, etc.)
A) Crowd Control / Area Denial
Charge to 25%, fire a 3 shot burst, with the goal of spawning the three damage trails. These trails stun and slow, and double as area denial zones.
Try to fan it out across the meat of a swarm, or cluster the shots down long corridors where the swarm is approaching through. It also works well vs. Mactera swarms if you form "cone" shapes in the air with your trails.
B) Swarm Clear
Charge to 50%-100% and fire a 3 shot burst trying to hit enemies in the face with each shot. The grunt you hit initally will die, and the trails will mop up some others with the DOT + Stun.
Generally this is best used as a close-range tactic if you're getting overrun (shockwave helps). Otherwise the CC tactic can wear down swarms with more ammo efficiency.