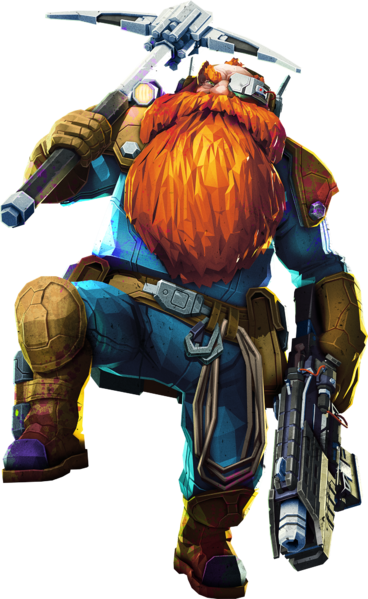
S3 edit: The GK2 slaps now.
Raw damage close to mid-range cave brawler. Heavy focus on direct damage with some built in CC.
Max damage, rate of fire, and armor breaking GK2 will give a solid kick to the teeth to whatever you put in front of it.
Bodkin points for fighting dirty.
Strategy
GK2 does a solid job with everything, absolutely shreds armor, and is a great all around weapon. Here, we use it for cleaning up after a bodkin strike, focusing down armored bugs, and focusing down HVTs. Thanks to its exceptional armor shredding, you don't need to use your time and attention positioning yourself on weakpoints (especially helpful on haz 5 where time and room to maneuver are often limited). Just point and shoot and you will start outputting solid damage immediately. It can hit targets at long range, but you'll waste some ammo. Prioritize close/mid range targets.
Bodkins will take out up to three soft targets per bolt. Don't waste them on single targets. Wait for a squishy group of glyphids or mactera, then go wild. Bodkins will tear up soft targets and spread fear to everything else.
Bugs that survive the bodkin will be easily finished with the GK2.
GK2
Modded for max damage, max RoF, and armor breaking.
I prefer armor breaking over the weak spot bonus. Armor breaking allows us to land full damage shots at any angle, through every armor type. You're still greatly rewarded for WP hits, but you can also focus down armored enemies without line of sight to a weakpoint, which gives you more freedom of movement and positioning during combat. Also, it trivializes shellbacks, which is an underrated benefit in my opinion.
Homebrew Powder. Since we're not focused on weakpoint damage, this gives us the maximum damage potential for our available ammo pool.
Boltshark
Tier 1: Taser bolts are fantastic. Stun lock a nemesis. Keep a bulk from moving. Slow dreadnaughts to a crawl.
Tier 2: I wish I could carry more bodkin bolts, but I think the extra stopping power from the damage mod is necessary on haz 5. On haz 4 or under, I'd take ammo.
Tier 3: Reload speed and velocity are a big trade off. I prefer velocity for the range and ease of use. The base bolt can have a tricky trajectory, making it too easy to miss at medium range. Velocity makes aiming much easier and more reliable.
Tier 4: Preference. It's nice to quickly get your precious bolt back after a miss, and you still get the benefit from banshee module. However, you'll (hopefully) only use this a handful of times per mission. Movement speed mod will activate dozens of times. Still, both are good.
Tier 5: Banshee Modules will usually send your attacker(s) running on a close miss, which is nice. Plus, you can grab your missed bolt. Frighten also appears to activate on hits and ricochet hits, so if your bolt doesn't kill your target, it will often at least run away. In either case, this helps ameliorate the slow reload speed by buying you more space and time.
Grenades
Take cryo grenades. I like to save my cryo grenades for very specific circumstances:
- One shot breeders;
- 20 swarmers about to run you down;
- One grenade will give you enough time to focus down one to two HVTs with your GK2, ie, two spitballers, praetorians, wardens, when you need them gone in a hurry.
Try to save your grenades for those circumstances in particular, instead of grunt clearing or general cc.
Perks
Berzerker since we don't have a ton of weakpoint damage, trigger berserker to focus down an oppressors. Four swings will kill a haz 5, 4p scaled oppressor.
Born Ready can be really helpful here, to make sure you always have a bodkin ready to loose.
Notes
-
Bodkin bolts are just fun to use. They make a fun sound and they shred glyphids.
-
Try to land bodkins on soft targets. However, you can also strip the armor off larger bugs with the GK2, then use them as easy targets to distribute bodkin ricochet hits to squishier enemies.
-
The Bodkin's ricochets have fantastic range, and will work great even if bugs are spaced out.
-
Always taser bulks and nemesis as soon as you can.
-
You can store extra bolts on molly if you have some extra while going for a resupply. She will carry them for you until you need them again.